How to Prepare a Balcony for Tiling
Proper preparation is the most important step when tiling a balcony. Because balconies are fully exposed to weather and moisture, inadequate preparation can lead to water leaks, tile failure, and structural damage. Before any tiles are laid, the balcony must be correctly graded, structurally sound, and fully waterproofed.
Below is a step-by-step guide explaining how to prepare a balcony for tiling correctly.
Step 1: Inspect the Balcony Structure and Drainage
Start by assessing the condition of the balcony slab. The concrete must be structurally sound, free from cracks that compromise integrity, and capable of supporting a tiled finish.
Balconies must also be constructed with sufficient drainage to prevent water pooling. Poor drainage is one of the most common causes of balcony failure.
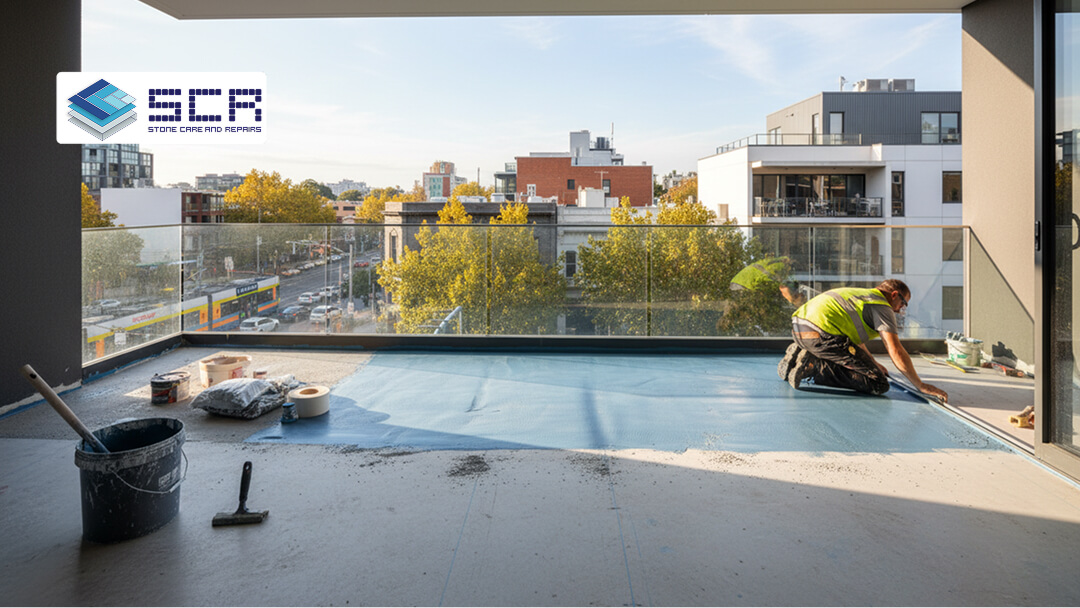
Step 2: Ensure the Correct Fall for Water Runoff
A balcony must have a minimum fall of 10mm per metre to allow water to drain away effectively.
If the fall is insufficient, water can stagnate on the surface, increasing the risk of:
- Waterproofing failure
- Tile debonding
- Long-term concrete damage
Correcting the fall should be completed before waterproofing and tiling begin.
Step 3: Clean and Prepare the Substrate
The substrate must be properly prepared to ensure tile adhesion and waterproofing performance.
Before tiling:
- Remove all dirt, dust, grease, and debris
- Eliminate any loose or contaminating materials
- Ensure the surface is stable, dry, and even
Tiling over an unprepared or contaminated substrate can result in adhesion failure and costly repairs.
Step 4: Seal Pipes, Penetrations, and Fittings
All penetrations through the balcony surface, including pipes and fittings, are high-risk leakage points.
These areas must be:
- Properly supported
- Sealed using appropriate waterproofing-compatible materials
- Fully integrated into the waterproofing system
Any gaps around penetrations can allow water to enter the structure and cause concealed damage.
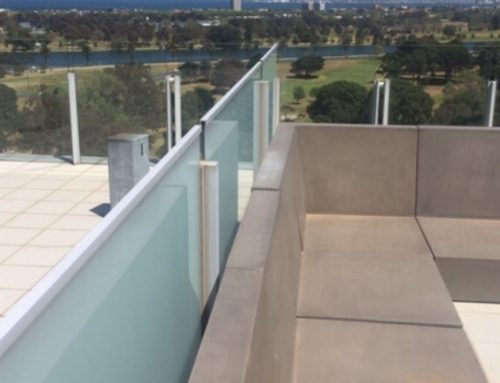
Step 5: Waterproof Floor-to-Wall Junctions
The junction between the balcony floor and surrounding walls is one of the most critical areas to address.
To prevent water ingress:
- The junction must be thoroughly waterproofed
- A non-shrinking grout should be used to secure this transition
- Waterproofing materials should accommodate movement between surfaces
Failure to correctly seal this area often leads to leaks into internal spaces.
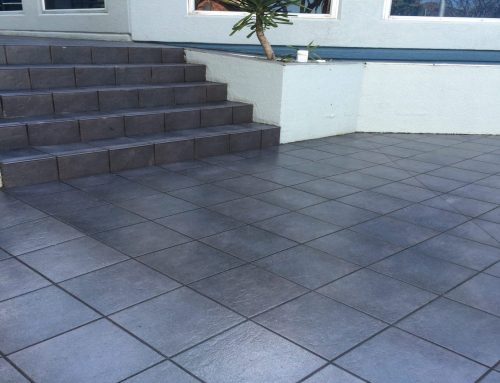
Step 6: Apply a Balcony Waterproofing System
Once the substrate has been fully prepared, the entire balcony surface must be waterproofed using a system suitable for external tiled areas.
A high-quality waterproofing system should:
- Be flexible enough to accommodate structural movement
- Be applied methodically and at the correct thickness
- Fully cover all critical areas, junctions, and penetrations
Waterproofing must be completed before any tiling work begins and allowed to cure according to manufacturer guidelines.
Step 7: Allow Proper Curing Before Tiling
After waterproofing, sufficient curing time is essential before tiles are installed. Rushing this stage can compromise the integrity of the system and lead to premature failure.
Only once the waterproofing system has fully cured should tiling commence.
Common Mistakes When Preparing a Balcony for Tiling
- Insufficient fall leading to water pooling
- Skipping waterproofing or applying it incorrectly
- Failing to seal wall junctions and penetrations
- Tiling over dirty or unstable substrates
Avoiding these mistakes significantly reduces the risk of leaks and tile failure.
Should Balcony Preparation Be Done by Professionals?
Balcony waterproofing and preparation require precision and experience. Errors can result in extensive property damage, costly repairs, and the need for complete re-waterproofing.
Using high-quality materials and experienced professionals helps ensure the balcony is prepared correctly the first time.
Need Expert Help?
If you have questions about how to prepare a balcony for tiling or need professional assistance, SCR Melbourne can help.